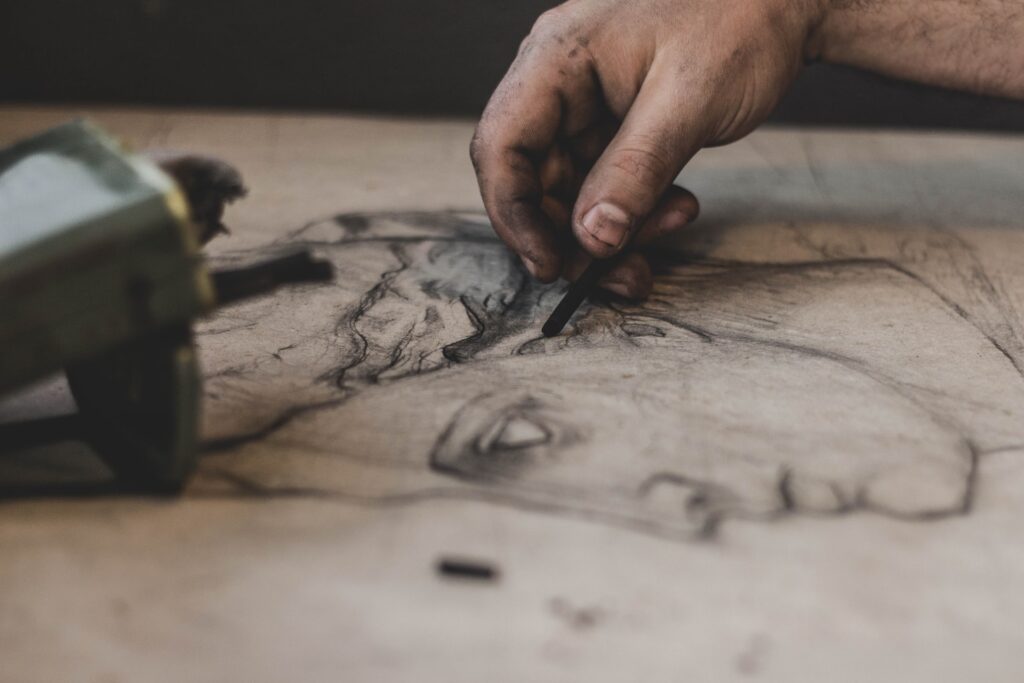
Making charcoal portraits are a great way to learn about shapes, values, and detail. There are various easy charcoal drawings you can do, and you don’t even need a lot of art materials.

There’s no need to be intimidated by sketching when there are simple techniques for success! This article is filled with step-by-step instructions on how to draw with pencils and charcoal.
Table of Contents
How To Draw With Charcoal Sticks for Beginners
It’s not difficult to draw using charcoal as a medium. Normal charcoal can come as sticks or in pencil form. Charcoal pencils are for drawing finer detail, though they’re not as soft as carbon.
What makes charcoal great for beginners is that they behave like pastels and can be used to explore big sweeping movements while also getting in some detail.
How Do You Draw Charcoal Step-by-Step?
If you have no problems about being messy and getting charcoal dust all over yourself, this blog is a step-by-step guide to making your first charcoal drawing.
What You Will Need
- Newsprint or pastel papers
- Blending stump
- HB pencil or graphite pencils
- Kneaded eraser
- Artist charcoal
Keep in mind that there are lots of charcoal types that can lead to different strokes, shades, textures, highlights, and shadows.
Depending on the type of charcoal you use, you can bring depth to different forms or cover large areas to bring out a landscape.
Here’s a quick list of the different types of charcoal:
- Vine charcoal
- Willow charcoal
- Compressed charcoal
- White charcoal pencil (unlike black charcoal, this is used for highlights or blending)
Step 1: Find a Good Drawing Surface
Make sure your drawing surface is completely flat. Remember that charcoal sketches can bring out the paper’s texture, so a smooth kind of paper like a Bristol board isn’t ideal. This is more suited to an ink or graphite drawing.
Set your newsprint or pastel paper on the flat surface. Just be careful with using newsprint as it’s thin and can tear under strong pressure.
Step 2: Pick a Subject
You can pick any subject for your sketch, but it’s recommended to choose easy ones, like a simple landscape.
Step 3: Get Started With Basic Shapes
The best thing about charcoal drawings is that you can be as messy as you want. That said, start by sketching the basic shapes of your drawing. They don’t have to be perfect at this point. What’s important is you got the basic shapes down.
Step 4: Finish With Detailed Shading
When you’re happy with the basic shapes, you can add more detail by smudging, erasing, highlighting, or blending. If you want darker lines, use a compressed charcoal pencil. Its darker pigment comes from a combination of soot and clay compressed with gum binders.
Brush away some of the charcoal powder lightly, so they don’t spread into other areas.
Step 5: Let’s Practice!
Practice is key when you want to learn how to do easy charcoal drawings. Keep sketching, smudging, and detailing, so you can get used to the medium and handle charcoal much better!
More Practice!
As you get more practice, you’ll learn more techniques about charcoal drawing. For instance, charcoal powders can get smudged or destroyed over time, so you need a fixative spray to preserve it.
It’s recommended to use a professional fixative, but for a quick fix, hairspray can work just as well. You can also mix charcoal with different media, like wax.
Outline of Basic Shading Techniques
Charcoal can be easier to use than pencil as it gives you the freedom to be messy and explore with shapes and shading. If you want to know more about basic shading techniques, you can watch art videos or search hashtags like #theartisticdesk (which is also the YouTube channel’s name).
Here’s a video link to a tutorial they did for easy charcoal drawings for beginners featuring some basic shading techniques.
Have you tried making your own charcoal drawings? What part did you enjoy the most?